Hello everybody, welcome to our recipe site, If you're looking for recipes idea to cook today, look no further! We provide you only the best All Natural San Francisco Sourdough Bread recipe here. We also have wide variety of recipes to try.
Before you jump to All Natural San Francisco Sourdough Bread recipe, you may want to read this short interesting healthy tips about {The Basics of Being Healthy. Becoming A Healthy Eater
Are you looking to lose weight or simply improve your health? If you are, you are going to want to take a close look at your eating habits. Watching the foods you eat and the fat and calories you eat is a terrific way to keep on a happy and healthy route.
As important as eating healthy would be to losing fat and staying healthy, it can be difficult to do. Eating healthy is most likely the toughest when dining out. Lunch menus are often stocked full of appealing images, but frequently lacking from these is the important information, such total carbs and fat. For that reason, you might find it difficult to make healthy decisions out of a lunch menu.
The first step in making healthy decisions from a dinner menu is choosing your location sensibly. If you’ve got several choices, when seeking to flake out, it’s crucial that you provide each choice a quick examination. Although fast food institutions are starting to incorporate healthy foods and meals in their menus, you may find it easier to eat healthy at a conventional family restaurant.
You might also make healthy choices from a lunch menu by looking for a healthy eating area. Since the foods which we eat are still a controversy surrounded by disagreement, most restaurants have begun developing healthy eating divisions in their own menus. These sections are often filled with low calorie foods and side dishes, in addition to those that are low in fats or saturated fats.
Using your best judgment is another one of the many ways which you may make healthy decisions out of a lunch menu. This can be best achieved by analyzing dinner pictures onto a menu. It’s also recommended that you avoid foods overrun with broccoli, cheese and even sour cream. If your selection includes these fattening condiments, make sure you ask for a reduced amount.
Speaking of requesting for a reduced amount, you might want to ask any questions you have. Would you prefer to understand whether the restaurant has low-fat milk, sour cream, or sweet? You will not wish to assume that they dotherefore, you will want to request your waiter. In actuality, you may also need to inquire about calories and fatloss. However, this information is not always readily available to customers.
Even if after taking the aforementioned approaches, you are unable to find satisfying healthy meals on your own lunch menu, then you may want to purchase a healthy side dish or drink. Water is an excellent choice, especially when compared to pop up. Salads make great side dishes, particularly those that are consumed with no salad dressing or low-fat salad dressing. Obviously, you are going to want to take extra measures to make certain you opt for a healthy meal, but if you decide to forgo low calories for taste, require additional measures to ensure that you receive some nutrition.
We hope you got insight from reading it, now let’s go back to all natural san francisco sourdough bread recipe. You can cook all natural san francisco sourdough bread using 10 ingredients and 10 steps. Here is how you achieve that.
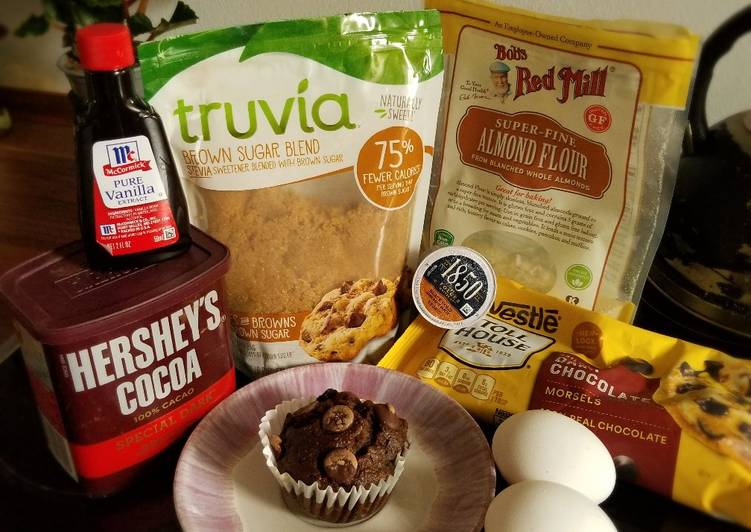
The ingredients needed to prepare All Natural San Francisco Sourdough Bread:
- Get Phase One
- Use 1/2 cup whole wheat flour
- Provide 1/2 cup water
- You need Phase two
- Prepare 200 g water
- You need 120 g sourdough starter
- You need 236 g whole wheat flour
- Prepare Phase Three
- Prepare 400 g Whole Wheat flour
- Take 100 g Buckwheat Flour
Instructions to make All Natural San Francisco Sourdough Bread:
- Combine Phase One ingredients in a mason jar or a small dish. You need to leave a little room at the top for it to expand. Stir up this flour goo and set it aside in a warm place.
- Over the next few days, this goo should start to bubble a little. Just check in every so often and see what it looks like. If it starts to bubble, or if it separates, with a layer of kinda gross looking water at the top, add a little more flour and water and stir it up again. Some sources recommend feeding every 12 hours, and I guess this is ideal. But that type of setup stresses me out, so I just feed it when it looks hungry.
- Depending on where you live, within a week or so (in San Francisco it can happen in a few days, but we're obviously known for our sourdough) you should find that, when you add flour and water to the mix, it can almost double in volume within a couple of hours. This means your starter is ready to go!
- Now, to make a loaf of bread, you combine Phase Two ingredients in a large bowl. Mix well. Cover with a kitchen towel and wait for about 12 hours. I like to do this in the evening so I can do the next step when I wake up in the morning. Once you have your dough fermented, continue with step 7. The next 2 steps are just some pointers on maintaining a natural starter.
- Any remaining starter from mixing your dough can be kept alive with a fresh helping of flour and water mix. Also, at any point in this process before you bake your bread, the dough should contain some of the yeast you've captured in your starter. That means you can always save some portion of this dough as a future starter. Give it away to friends or use it to replenish your own stash. Just feed it regularly, every couple of days or so.
- If you won't be using your starter for awhile, you can put it in the fridge. In this case, you only need to feed it maybe once a week. For more long term storage, wait until it's particularly bubbly and active, then spread it out on a sheet of parchment and let it dry to a crisp. Then, break up the chunks and store in a dark, airtight location. When you want to use it, just mix some of these flakes with some flour and water paste again and wait until it wakes up.
- So, continuing with step 4 above, just combine the ingredients listed in Phase Three with your fermented dough. Knead them together until you have a nice ball of dough. Put this in a bowl, cover it with plastic, and let it sit in the refrigerator for 24 hours. Note: Feel free to experiment with different flours. I used a combo of these two because I had them in my kitchen.
- When the 24 hours is up, take your fermented dough out of the fridge. Knead it just a bit to form it into a smooth ball. Pinch the seams together gently to seal them up. Set your dough ball in a warm spot with a towel over it and just let it be for about 5 hours or so. Feel free to use any other kinds of fancy bread-shaping techniques here if you know them.
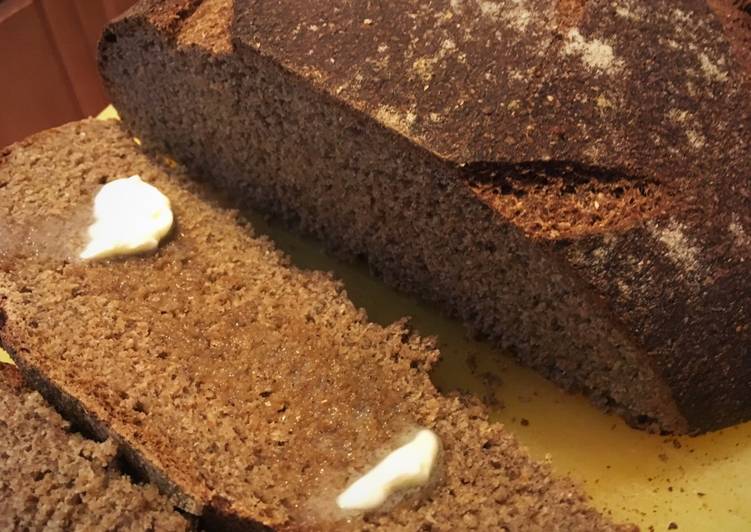
- Time to bake. Heat your oven to about 450f. On the top rack, a pizza stone is ideal. On the bottom rack, a cast iron pan or an oven-proof pan you don't really care about.
- Give your loaf a light dusting of flour, slice into the top about 1/4" in a few spots so that steam will escape as it bakes, and slide it onto the hot stone. Carefully pour a cup or so of water into the pan on the bottom rack and shut the oven door. Bake for about 45 minutes. When done, your bread should give a hollow knock when thumped.
If you find this All Natural San Francisco Sourdough Bread recipe useful please share it to your good friends or family, thank you and good luck.